How to Program a Door/Window Sensor to the GC2 Panel
Step-by-Step Instructions:
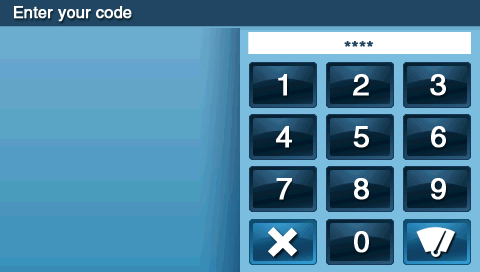
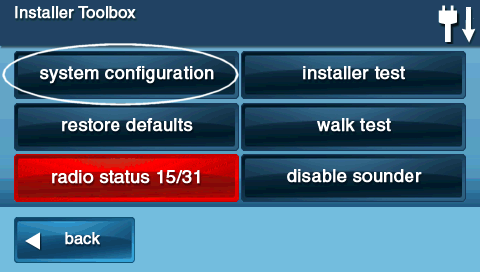
1. To program a door/window contact into a security zone, you will first need to access the installer toolbox. Press the 2GIG logo on your panel screen, then enter the default installer code 1561.
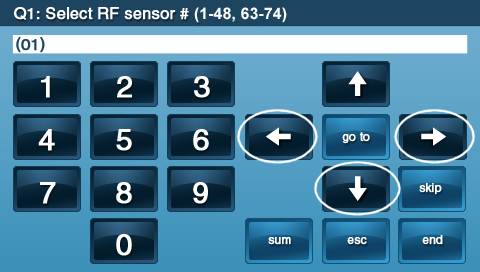
2. Press System Configuration, select a sensor zone number not currently in use (01 to 48, 63-74), then press the down arrow.
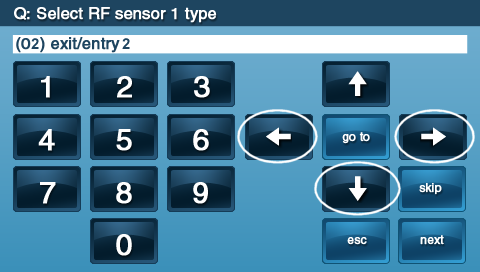
3. Press the left or right arrows to select Sensor Type, then press the down arrow.
- Note: When you arm your panel, (01) sets an entry/exit delay of 30 seconds, and (02) sets an entry/exit delay of 45 seconds. (01) and (02) should be used for doors. (03) Perimeter should be used if the sensor is set to a window.
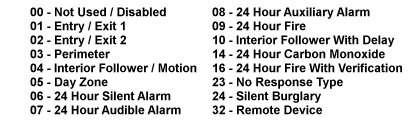
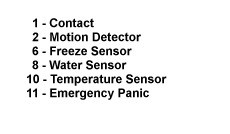
4. If 04, 06, 07, 08, 10, or 23 were selected above, enter Equipment Type, then press the down arrow.

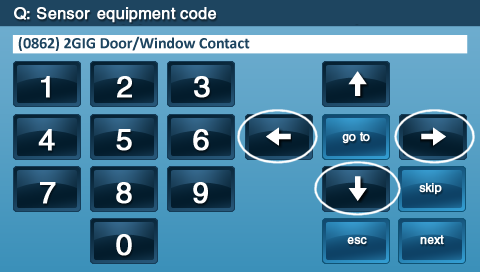
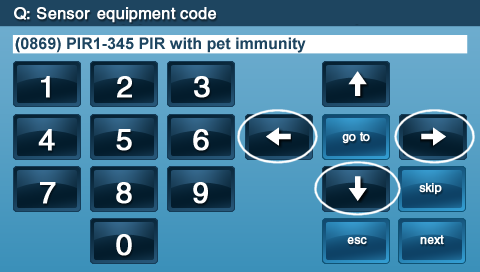
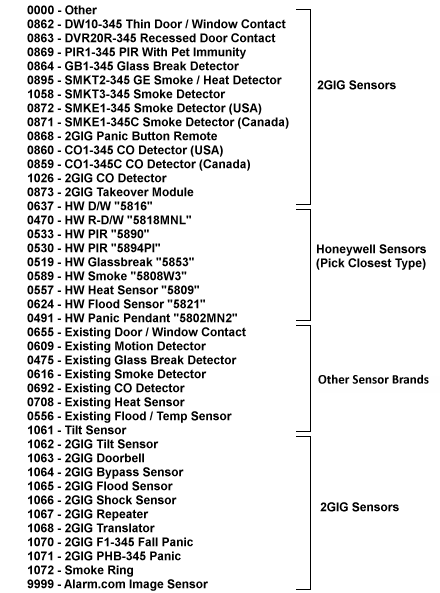
5. Press the right arrow to select the equipment code (0862) 2GIG thin door/window contact. Press the down arrow to continue.
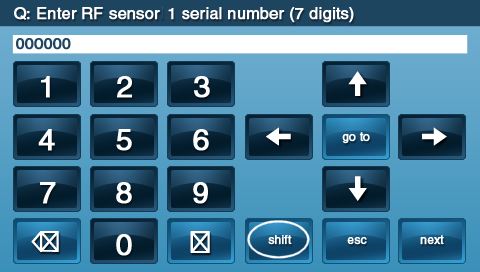
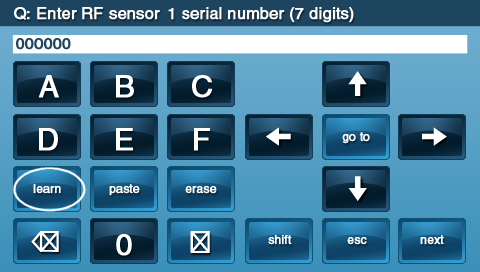
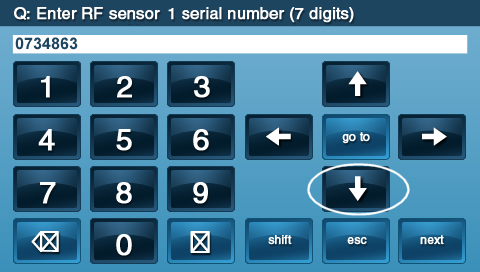
6. Enter the sensor serial number. To auto-learn the sensor, press Shift then Learn, then activate the sensor.
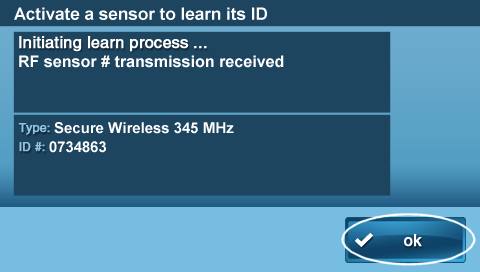
- Note: If you choose to add wirelessly without entering the serial number, ensure the battery pull tab is removed and that the sensor is in a closed state. Press shift on the panel, then press learn. Open the sensor by opening your door or window, then return it to a closed state. Your panel will display your sensor's information if it was recognized. You can press ok to continue.
7. If the sensor learns successfully press Ok, then press the down arrow.
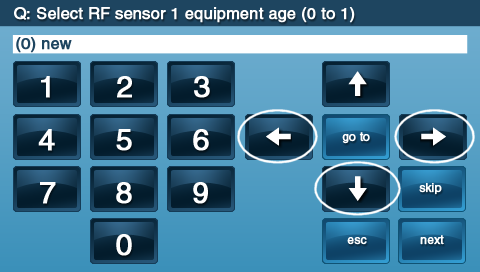
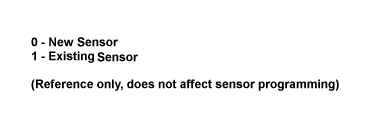
8. Enter 0 at Equipment Age, then press the down arrow.
9. Enter Loop Number 1 or 2, then press the down arrow.


10. Enter 1 to enable the 30-second dialer delay, then press the down arrow.

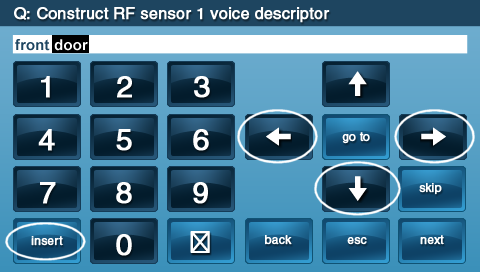
11. Press Insert, then use the left or right arrows to scroll through descriptions to name your sensor.
![]()
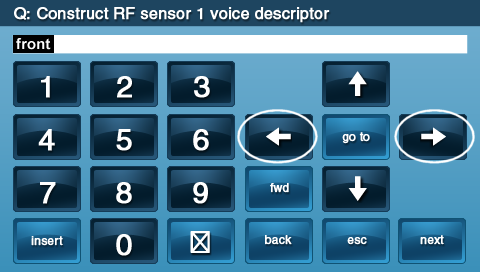
12. To add an additional word to your sensor description, press Insert, then use the left or right arrows to scroll through descriptions.
13. Enter 1 to enable sensor reporting, then press the down arrow.

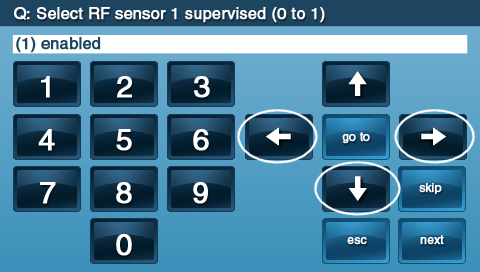
14. Enter 1 to enable sensor supervision, then press the down arrow.
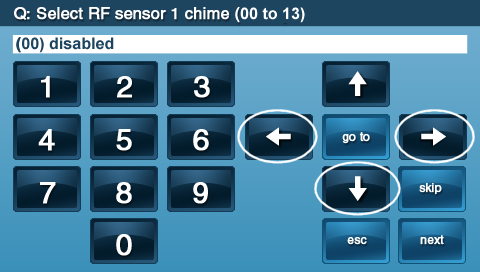
15. Enter 0 to 13 to select a sensor chime, then press the down arrow.

16. Press Edit Current to make any changes to your entry. Press Edit Next for the next sensor; otherwise, to save your entries, press Skip, then press End, and finally press Exit.
![]()
Related Articles
2GIG Edge - Programming a Door/Window Sensor
2GIG Edge - Programming a Door/Window Sensor Please follow the steps below to program new door/window sensors into the 2GIG Edge panel: 1. Tap the setting cog icon and enter the default installer code 1561. 2. Scroll to the bottom of the screen to ...How to Program a Door/Window Sensor to an IQ Panel 4
Follow the steps below to connect a door/window sensor to the IQ Panel 4. Step-by-Step Instructions: 1. Swipe down from the clock display at the top of the screen, then press Settings. 2. Press Advanced Settings, then enter the default installer code ...IQ Panel 4—Sensor Malfunction
Every hour, your alarm system sends a signal (called a roll call) to each sensor to confirm it’s working and reporting properly. If a sensor doesn’t respond, the system sends a failure signal to the control panel. You’ll then see an alert or ...GC2/GC2e—Sensor Malfunction
GC2/GC2e — Sensor Malfunction Your alarm panel performs a “roll call” every hour, sending a signal to all connected sensors to confirm they’re working properly. If a sensor fails to reply, the panel will display a Malfunction/Failure message, and you ...2GIG Edge—Sensor Malfunction
2GIG Edge—Sensor Malfunction Every hour, your alarm system sends a signal to all of your sensors to ensure functionality and proper reporting, which is called a "roll call". If a sensor fails to send a response signal, a failure signal will be sent ...